
EventBus 使用
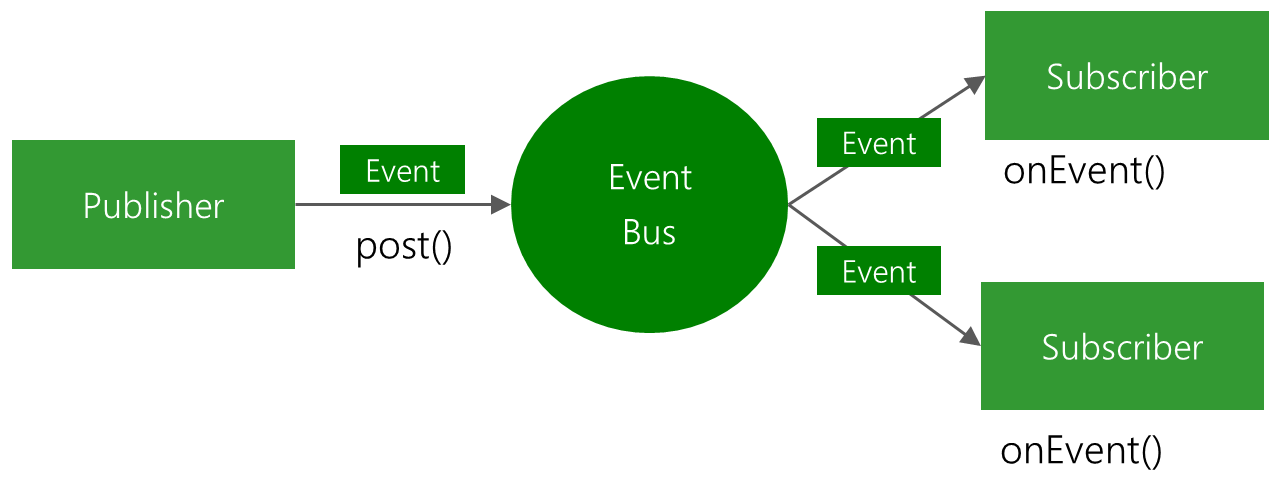
EventBus - 事件巴士(翻中文好怪XD),可以有效的降低程式之間的耦合性 ,我們都知道Android在Activity、Fragment、Service之間互相傳遞參數有多麻煩,而且當B Activity某一個事件發生時,要通知上一個A Activity 做什麼事的時候也相當麻煩,在專案startActivityForResult()、BroadcastReceiver越用越多時,便會造成耦合性過高,維護與開發困難,使用EventBus可以輕鬆的擺脫他們!下面的範例是 在Activity01 註冊事件,在 Activity02 發生事件,並通知 Activity01,Activity01 收到後 print 出 Log
1.Add EventBus Lib
在專案內的build.gradle裡面加上紅線處
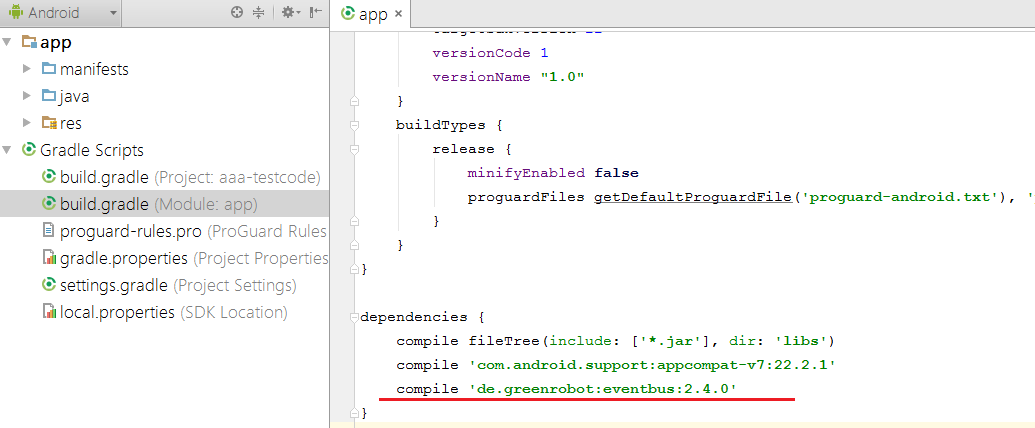
compile 'de.greenrobot:eventbus:2.4.0'
2.製作自己的事件
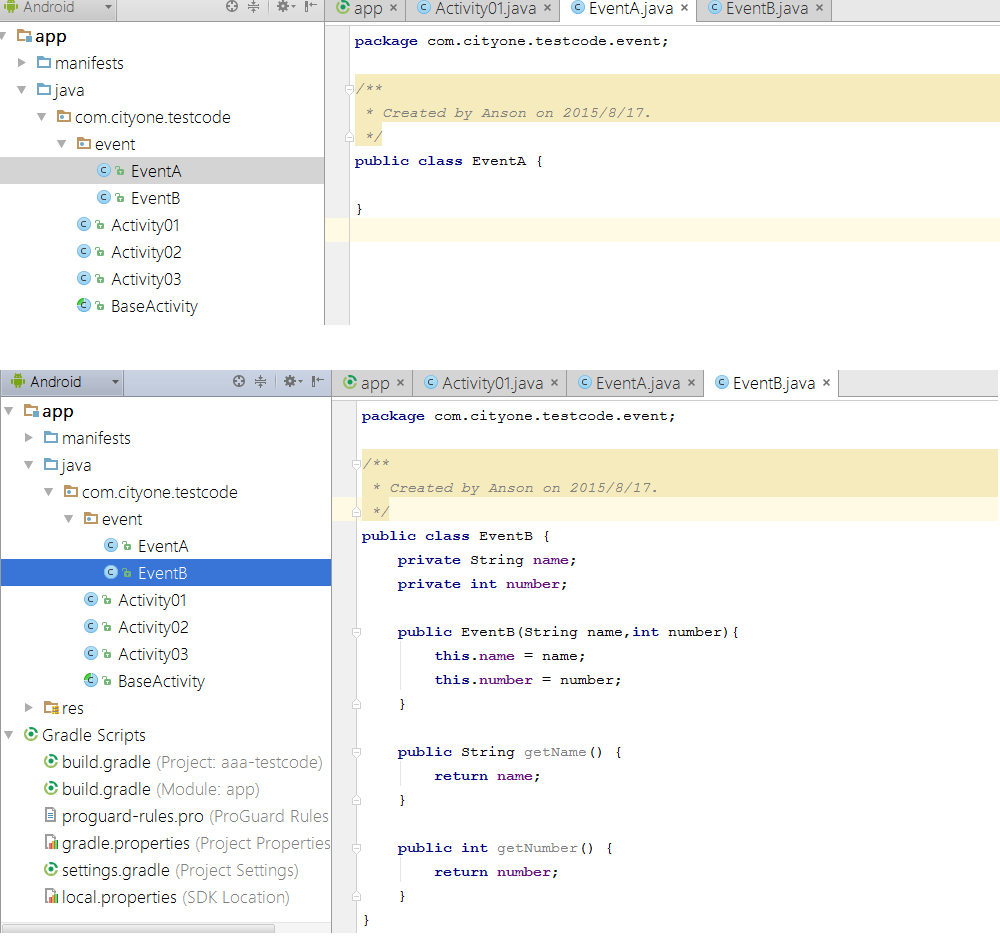
我在專案內多開一個 package 取名叫 event
裡面裝兩個 class - EventA與 EventB
EevntA 為空的 class
EevntB 裡面的 name 與 number,主要是用來證明可以傳遞參數
public class EventB {
    private String name;
    private int number;

    public EventB(String name,int number){
        this.name = name;
        this.number = number;
    }

    public String getName() {
        return name;
    }

    public int getNumber() {
        return number;
    }
}
3.Activity01註冊與註銷
register 與 unregister 的時機應該是看當下的需求
可以在 onCreate 與 onDestroy 時
也可以在 onResume與 onPause 時
但是有註冊了便一定要記得註銷,否則會造成 memory leak
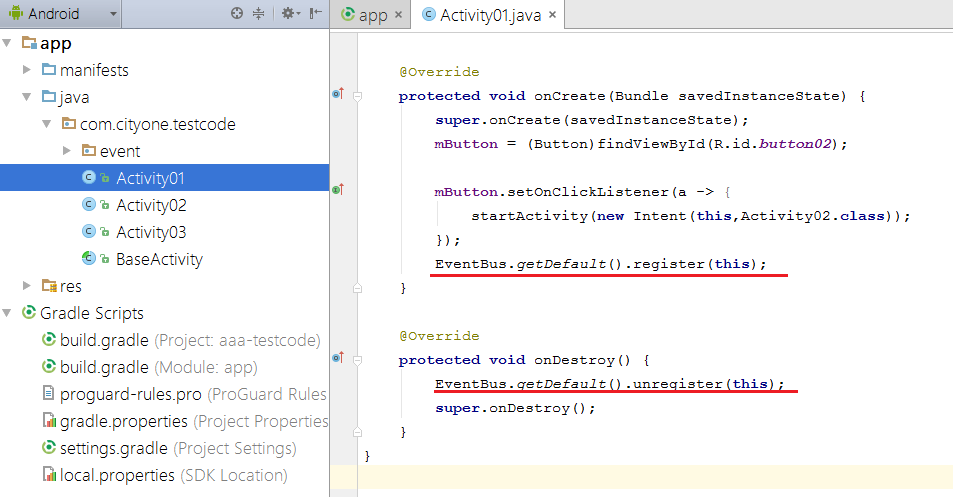
EventBus.getDefault().register(this);
EventBus.getDefault().unregister(this);
4.Activity01訂閱事件
method 名稱一定要為 onEvent

//訂閱事件 A
public void onEvent(EventA eventA) {
    System.out.println("事件A發生啦");
};

//訂閱事件 B
public void onEvent(EventB eventB) {
    System.out.println("B-Name:"+eventB.getName());
    System.out.println("B-Number:"+eventB.getNumber());
};
5.Activity02 發生事件
在 Activity02 內有兩個按鈕,分別是發生 A事件與 B事件
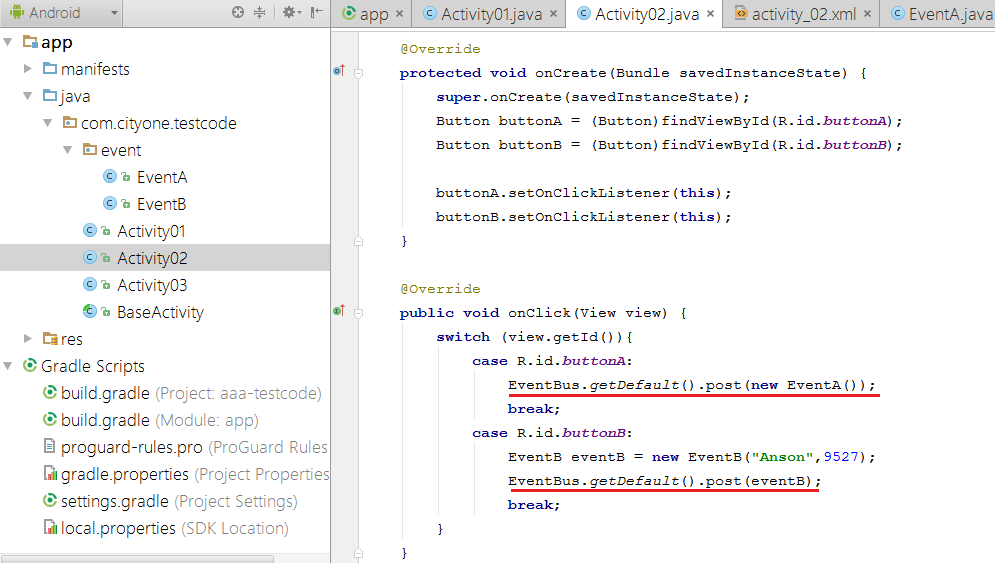
EventBus.getDefault().post(new EventA());

EventB eventB = new EventB("Anson",9527);
EventBus.getDefault().post(eventB);
6.完成了!來看效果吧
EventBus另外還可以指定Thread :
onEvent()
onEventBackgroundThread()
onEventMainThread()
onEventAsync()
在 Activity01 按下按鈕來到 Activity02
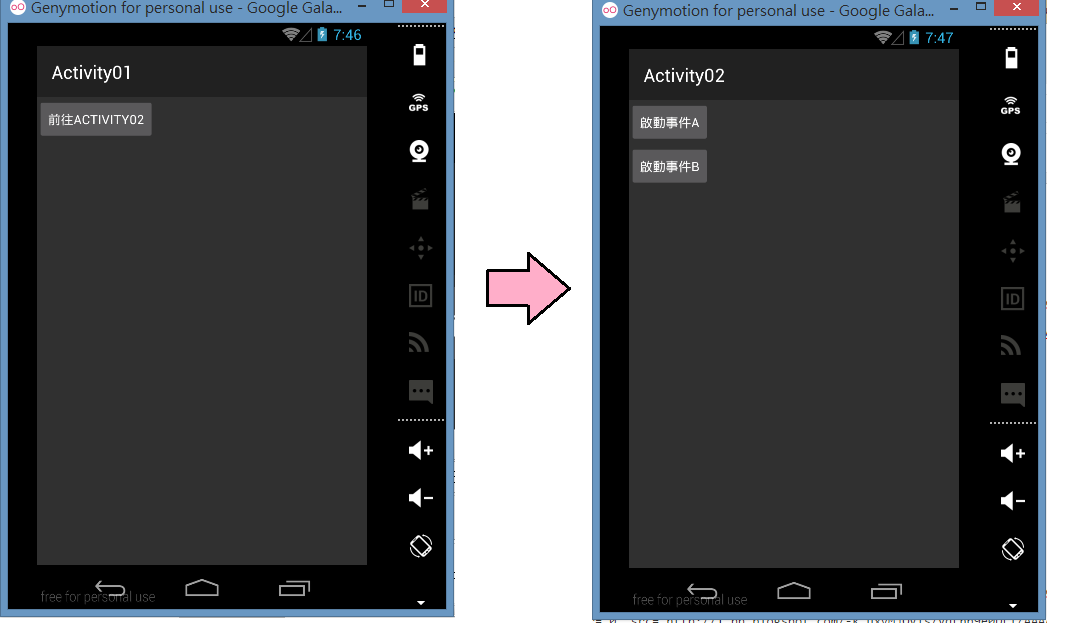
按下 啟動事件A

按下 啟動事件B


