
Google Plus Api登入
這篇要來介紹的是 如何使用Google+登入,要使用Google Plus登入App,在Coding之前有幾件事情要先做
●打包你的正式keystore,並取得SHA-1 指紋
●到你的Google Api主控台進行登記
下面會有圖文介紹
若還有疑問可以來看官方介紹
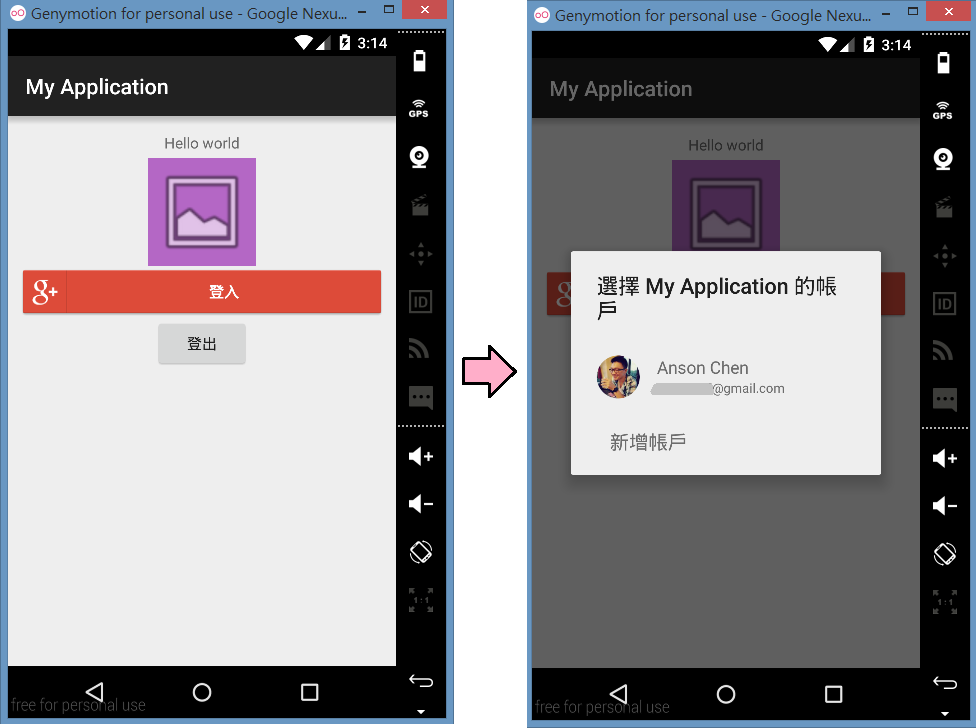
當你登記好你的專案後,Code的部分也很簡單,下面的Android專案演示在登入後取得個人資料,與登出
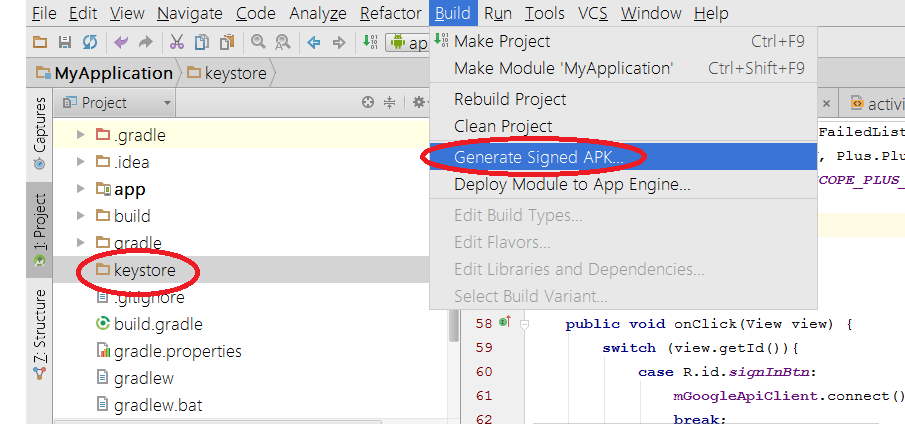
1.產生正式 keystore
我的習慣是在專案內多開一個資料夾取名叫keystore
將產生出來的檔案放在裡面
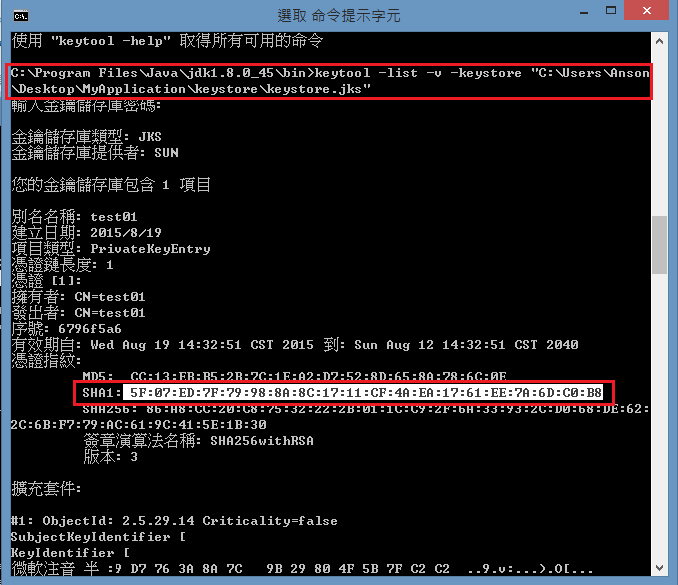
2.取得SHA-1 指紋
這邊要使用JDK的keytool工具
1.打開cmd視窗
2.切換路徑到你的JDK的bin資料夾 指令:(cd C:\Program Files\Java\jdk1.8.0_45\bin)
3.查詢keystore 指令:(keytool -list -v -keystore "C:\Users\Anson\Desktop\MyApplication\keystore\keystore.jks")
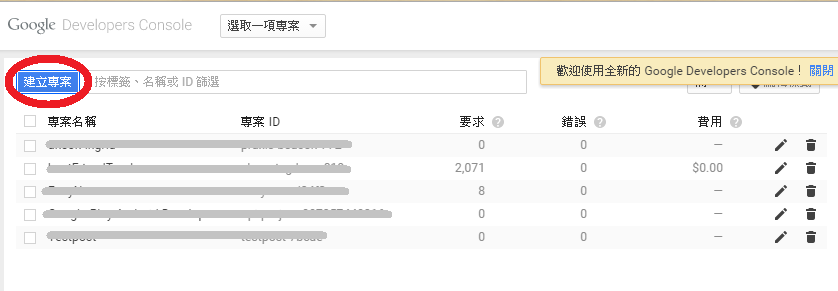
2.到Google Api主控台進行登記
點選 建立專案
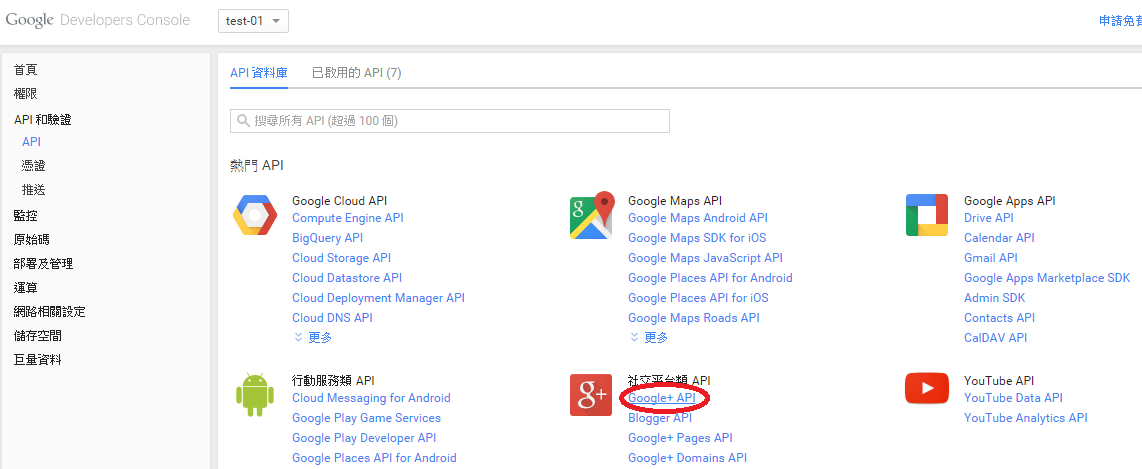
完成後 點選進入Google+ API
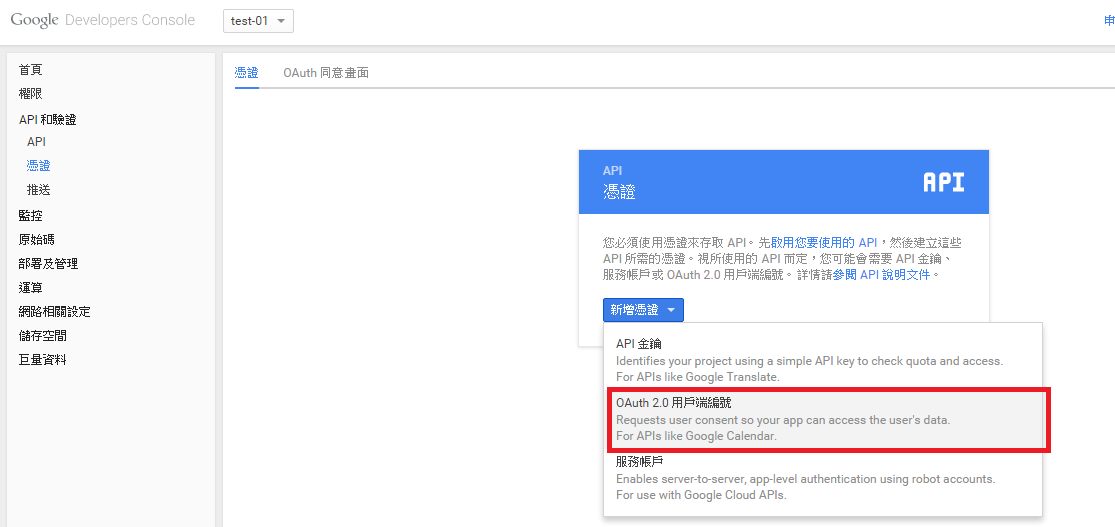
點選新增憑證 -> O Auth 2.0用戶端編號
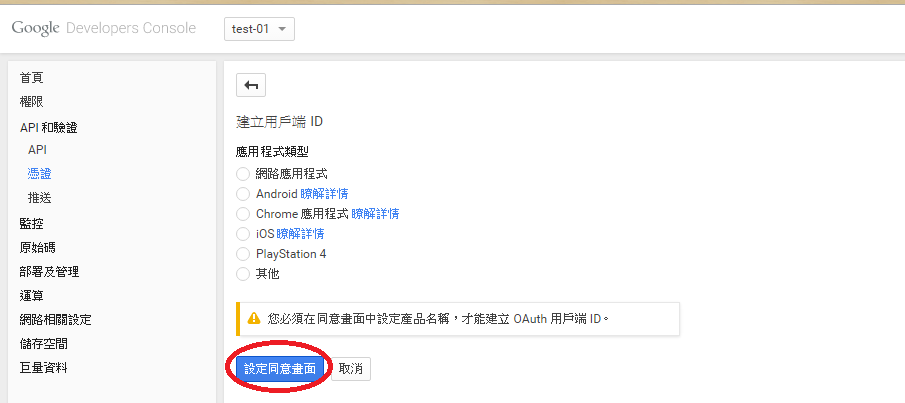
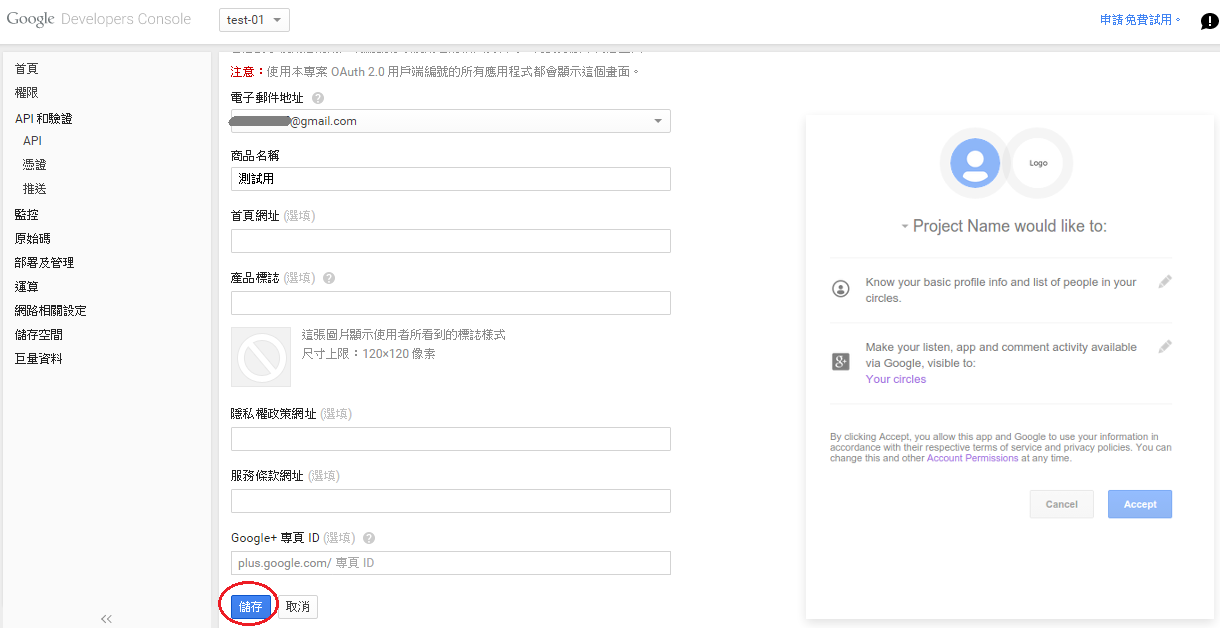
點選設定同意畫面
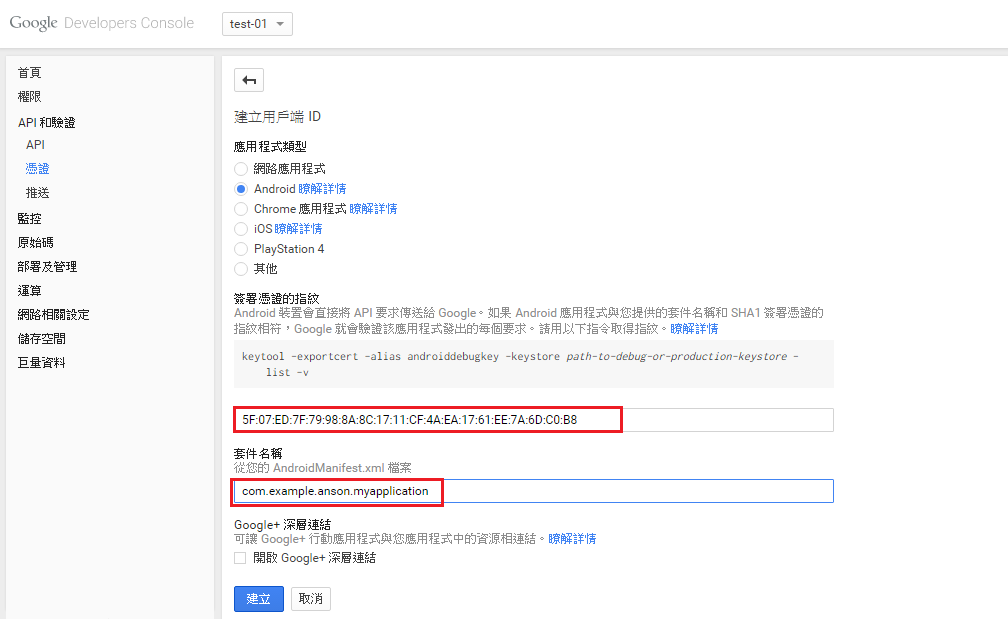
點選Android,並貼上你的SHA-1與專案package name
3.回到Android
這個domo專案我在build.gradle引用兩個Lib
1.Google Play Service
2.AQuery(單純用來演示load頭像圖片而已)
compile 'com.google.android.gms:play-services:7.5.0'
compile 'com.googlecode.android-query:android-query:0.25.9'
先來看Layout
<LinearLayout xmlns:android="http://schemas.android.com/apk/res/android"
    xmlns:tools="http://schemas.android.com/tools"
    android:layout_width="match_parent"
    android:layout_height="match_parent"
    android:orientation="vertical"
    android:padding="10dp"
    android:gravity="center_horizontal"
    tools:context=".MainActivity">


    <TextView
        android:padding="5dp"
        android:id="@+id/contentTv"
        android:text="Hello world"
        android:layout_width="wrap_content"
        android:layout_height="wrap_content" />

    <ImageView
        android:src="@android:drawable/ic_menu_gallery"
        android:padding="5dp"
        android:background="#B467C5"
        android:id="@+id/photoIv"
        android:layout_width="100dp"
        android:layout_height="100dp" />

    <com.google.android.gms.common.SignInButton
        android:id="@+id/signInBtn"
        android:layout_width="match_parent"
        android:layout_height="wrap_content"
        />

    <Button
        android:text="登出"
        android:id="@+id/logoutBtn"
        android:layout_width="wrap_content"
        android:layout_height="wrap_content"
        />
</LinearLayout>
再來看java code
import android.content.Intent;
import android.content.IntentSender;
import android.support.v7.app.AppCompatActivity;
import android.os.Bundle;
import android.view.View;
import android.widget.Button;
import android.widget.ImageView;
import android.widget.TextView;
import com.androidquery.AQuery;
import com.google.android.gms.common.ConnectionResult;
import com.google.android.gms.common.SignInButton;
import com.google.android.gms.common.api.GoogleApiClient;
import com.google.android.gms.plus.Plus;
import com.google.android.gms.plus.model.people.Person;
public class MainActivity extends AppCompatActivity implements
View.OnClickListener,
GoogleApiClient.ConnectionCallbacks,
GoogleApiClient.OnConnectionFailedListener {
private static final int RC_SIGN_IN = 0;
private GoogleApiClient mGoogleApiClient;
private AQuery mAQuery;
private TextView mContentTv;
private ImageView mPhotoIv;
private SignInButton mSignInButton;
private Button mLogoutBtn;
@Override
protected void onCreate(Bundle savedInstanceState) {
super.onCreate(savedInstanceState);
setContentView(R.layout.activity_main);
mContentTv = (TextView)findViewById(R.id.contentTv);
mPhotoIv = (ImageView)findViewById(R.id.photoIv);
mSignInButton = (SignInButton)findViewById(R.id.signInBtn);
mLogoutBtn = (Button)findViewById(R.id.logoutBtn);
mSignInButton.setOnClickListener(this);
mLogoutBtn.setOnClickListener(this);
mAQuery = new AQuery(this);
mGoogleApiClient = new GoogleApiClient.Builder(this)
.addConnectionCallbacks(this)
.addOnConnectionFailedListener(this)
.addApi(Plus.API, Plus.PlusOptions.builder().build())
.addScope(Plus.SCOPE_PLUS_LOGIN)
.build();
}
@Override
public void onClick(View view) {
switch (view.getId()){
case R.id.signInBtn:
mGoogleApiClient.connect();
break;
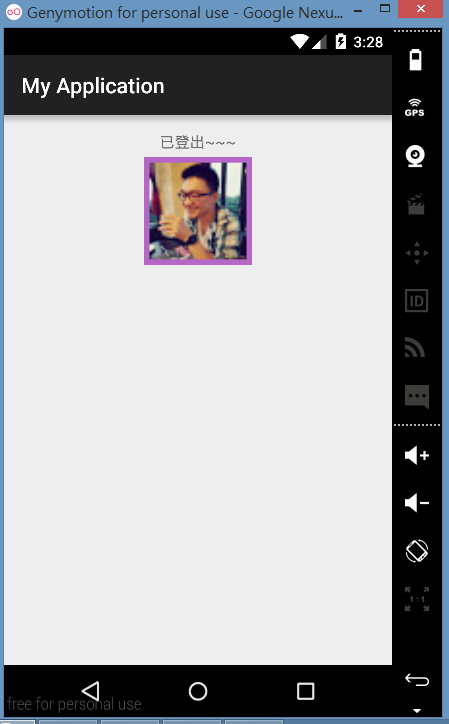
case R.id.logoutBtn:
if(mGoogleApiClient.isConnected()){
Plus.AccountApi.clearDefaultAccount(mGoogleApiClient);
mGoogleApiClient.disconnect();
mLogoutBtn.setVisibility(View.GONE);
mContentTv.setText("已登出~~~");
}
break;
}
}
@Override
public void onConnected(Bundle bundle) {
try {
if (Plus.PeopleApi.getCurrentPerson(mGoogleApiClient) != null) {
Person currentPerson = Plus.PeopleApi.getCurrentPerson(mGoogleApiClient);
String personName = currentPerson.getDisplayName();
String personEmail = Plus.AccountApi.getAccountName(mGoogleApiClient);
int gender = currentPerson.getGender();
String plusId = currentPerson.getId();
String personPhotoUrl = currentPerson.getImage().getUrl();
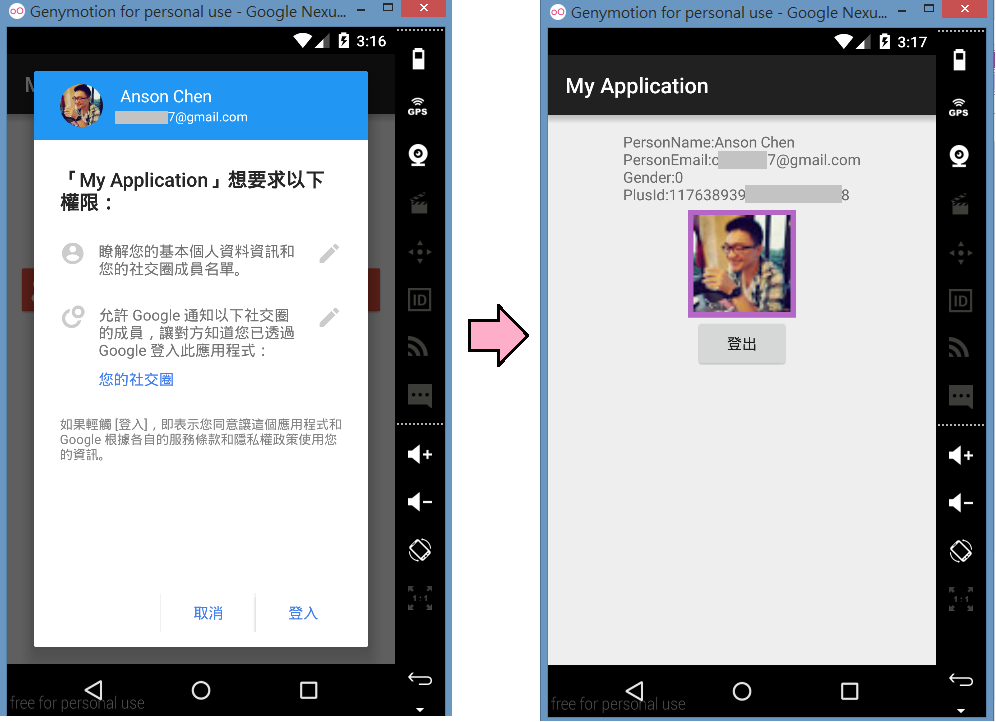
String content = "PersonName:"+personName+"\n";
content += "PersonEmail:"+personEmail+"\n";
content += "Gender:"+gender+"\n";
content += "PlusId:"+plusId;
mContentTv.setText(content);
mAQuery.id(mPhotoIv).image(personPhotoUrl, true, true, 0, android.R.drawable.ic_menu_gallery);
mSignInButton.setVisibility(View.GONE);
}
} catch (Exception e) {
e.printStackTrace();
}
}
@Override
public void onConnectionSuspended(int i) {
mGoogleApiClient.connect();
}
@Override
public void onConnectionFailed(ConnectionResult connectionResult) {
try {
connectionResult.startResolutionForResult(this, RC_SIGN_IN);
} catch (IntentSender.SendIntentException e) {
e.printStackTrace();
}
}
@Override
protected void onActivityResult(int requestCode, int responseCode, Intent intent) {
switch (requestCode) {
case RC_SIGN_IN:
if (!mGoogleApiClient.isConnecting()) {
mGoogleApiClient.connect();
}
break;
}
}
}
最後還有Manifest要加上網路權限
<uses-permission android:name="android.permission.INTERNET"/>
4.完成了!來看效果吧
要測試時記得打包正式apk檔
安裝到模擬器或實機上才能正常run喔!
關於
安森瓦舍這個地方主要是Anson用來紀錄程式開發的相關筆記,主要分享 Android , ASP.NET MVC , HTML...等技術,如果對文章內容有疑問或是文章內容有誤,歡迎留言討論,也可以幫我按個分享,讓更多人知道這裡~